
My lot love crafting sessions. Anything where they can create and be allowed to make a mess always seems to be a winner. When it’s cold and dark outside, a bit of crafting lifts everyones spirits. Christmas is also a great excuse to get the paint and glue out. So here are my favourite Christmas Tree Makes for you to try at home.
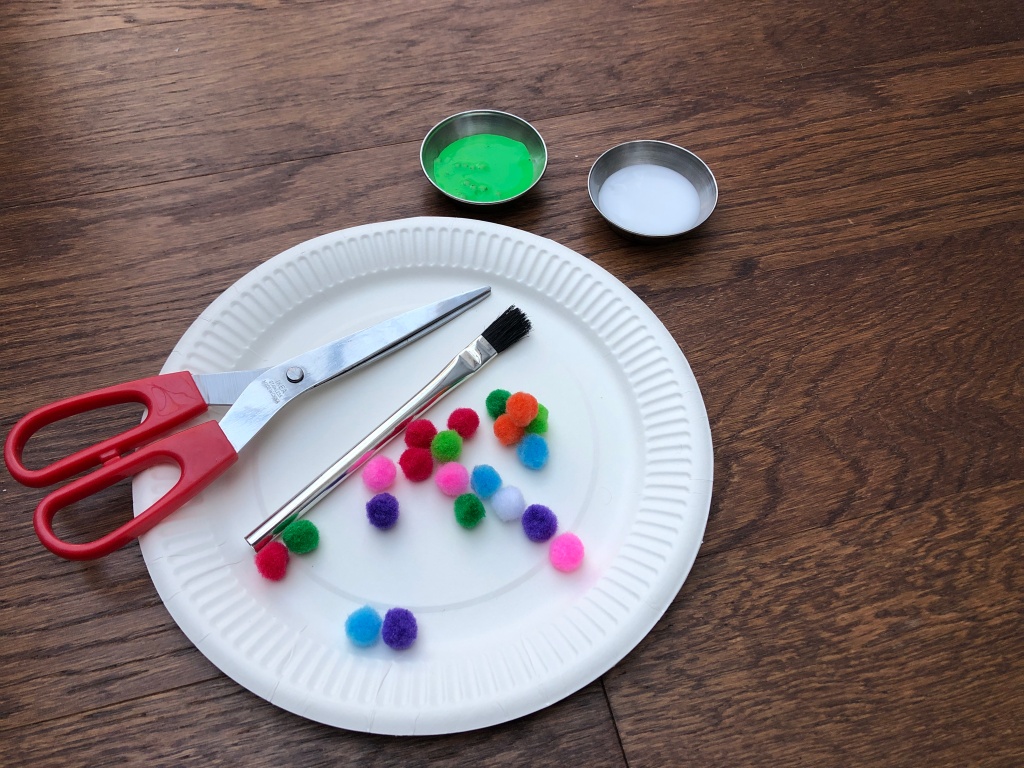
Many of these trees start out the same way. So grab together the following to get started on your festive foliage!
- Paper Plate
- Green Paint
- Glue
- Scissors
- Decorations (pompoms, sequins, coloured yarn. Let your imagination (or the contests of your craft box!) run here.
Spiral paper plate

Paint a paper plate green, or cut a large circle from a sheet of green card.
Cut the circle into a spiral, keeping it as even as you can.
Decorate the spiral with paints, stickers, pompoms, beads, sequins, or whatever you have at home already.
Add a ribbon and a star to the centre of your spiral. Hold the ribbon up and the spiral will hang down like a Christmas Tree.
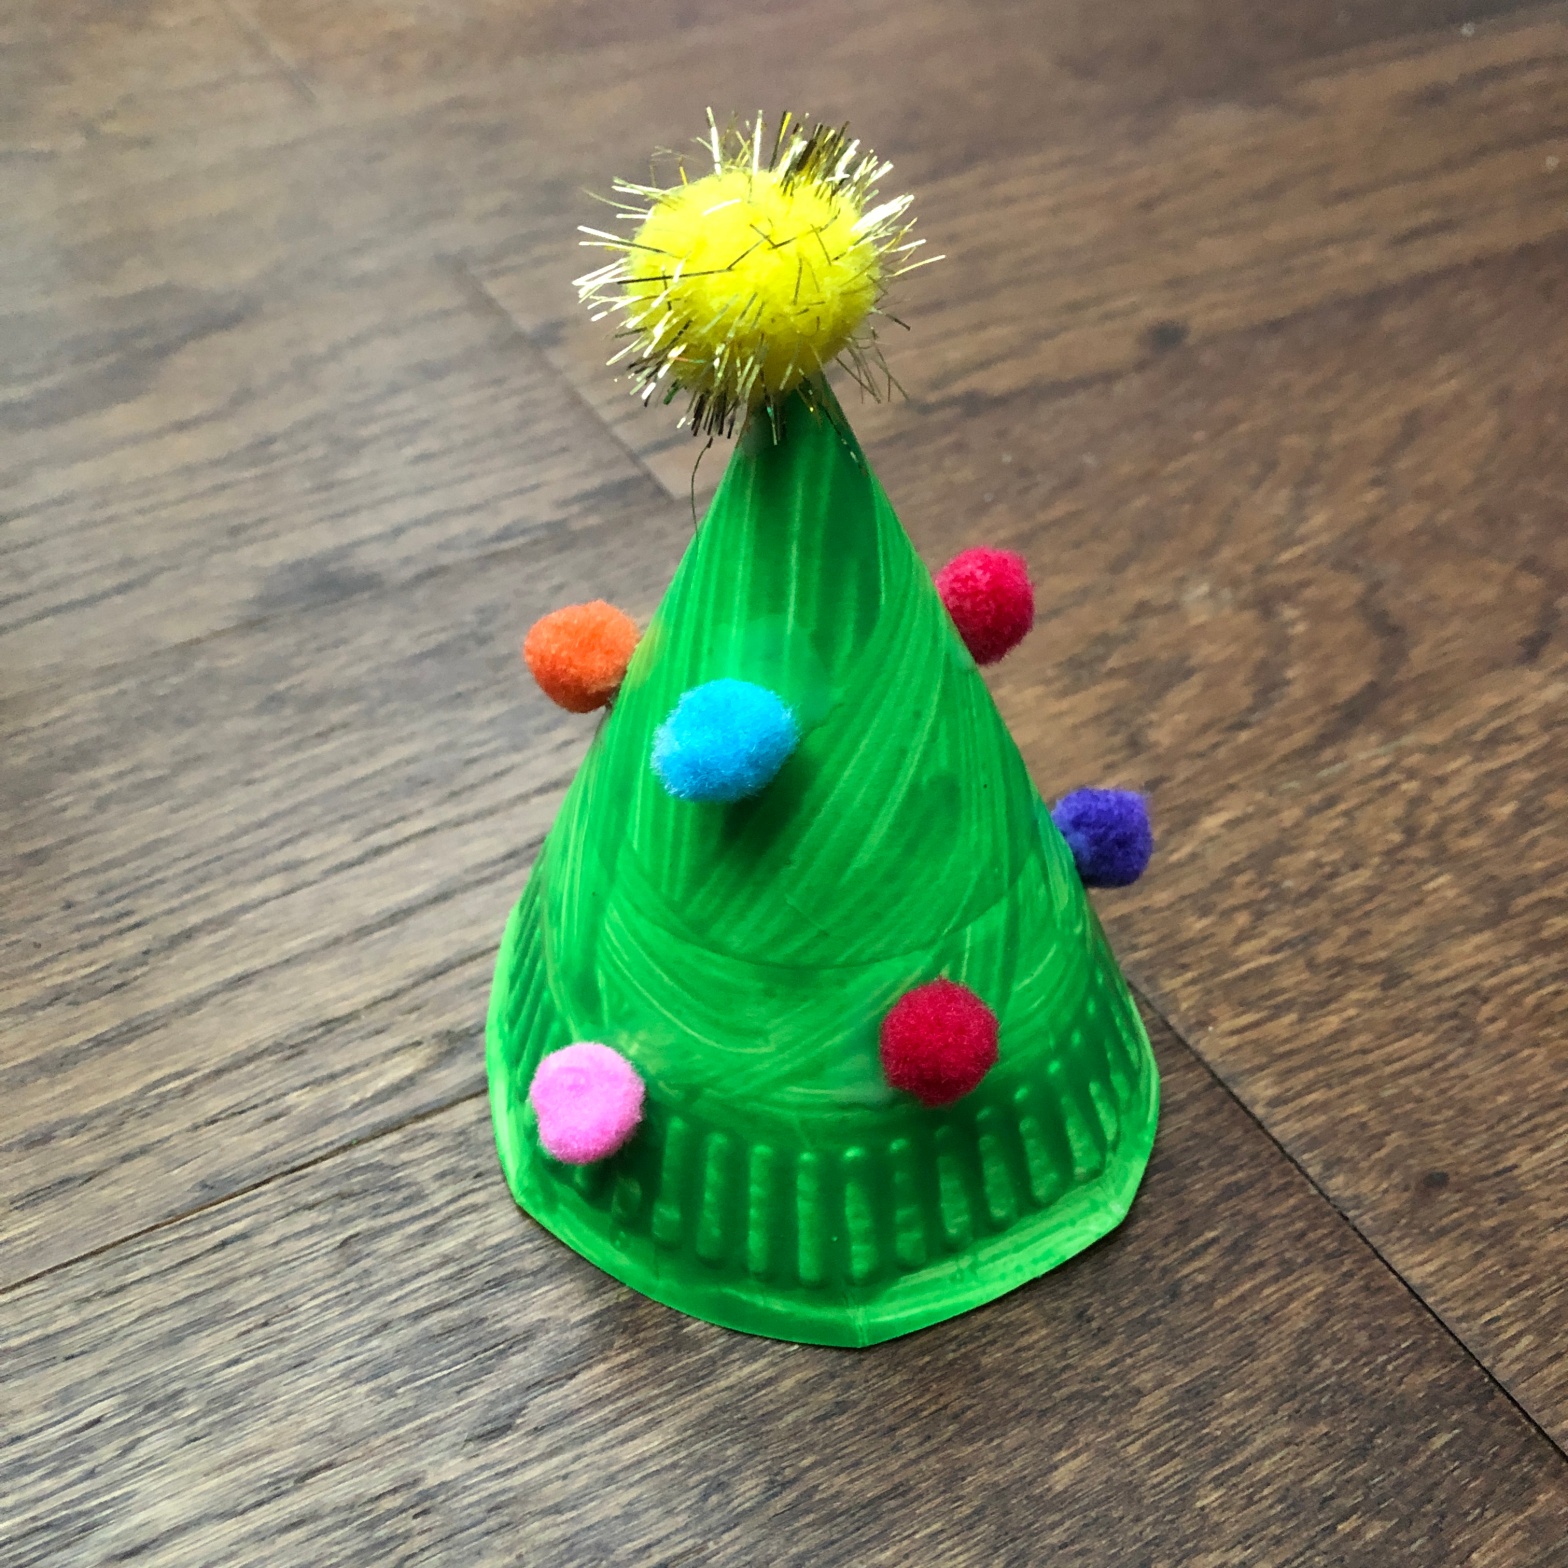
Cone Paper Plate
Paint a paper plate green. Let it dry completely. Cut it in half. Fold one half round to form a cone. Secure with glue or staples.
Add pompoms, pipe cleaners, ribbon to make decorations. If you don’t fancy getting the glue out, get the kids to draw decorations on the tree before you fold it into a cone.

Lollipop Stick variations
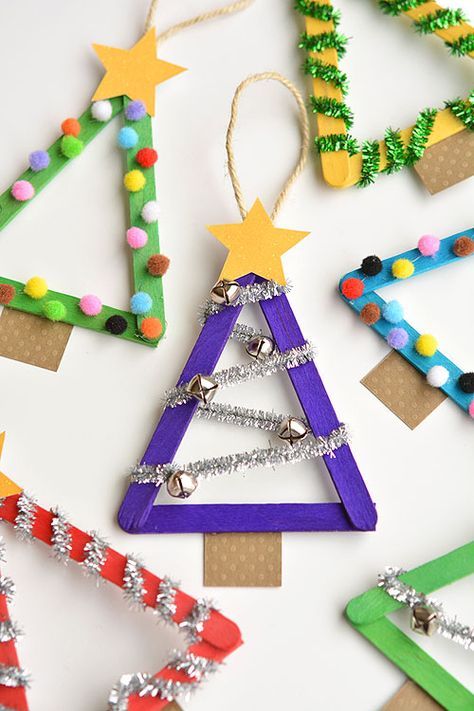
Stick 3 lollipop sticks together to form a triangle. Decorate them with pipe cleaners, pompoms, string, cut out shapes.
Add a star at the top and a trunk at the bottom.
Add a string or ribbon to the top and hang your tree decorations up each Christmas.
Paper plate Christmas Tree
Paint a paper plate green. When it is dry, cut the plat into thirds. Stack one on top of the other and decorate with stickers, pompoms, beads, sequins. Add a star shape to the top, and a brown piece of card or a lollipop stick to the bottom.

Finger Print Canvas
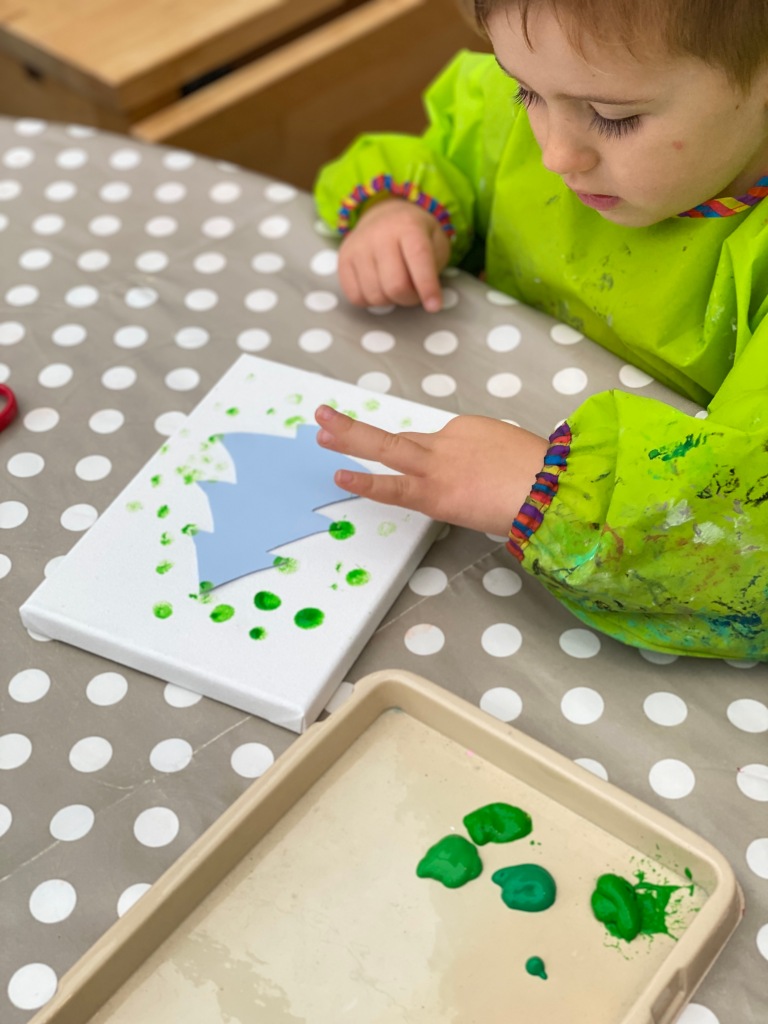
Stick a Christmas shape onto a canvas with blue tac or similar. Something you can remove easily when the painting is done.
Using fingers, or dabbers if you’d prefer, make finger prints around the shape, making sure to go around the edges.
When the paint is completely dry, lift the shape off the canvas to reveal your art work.
