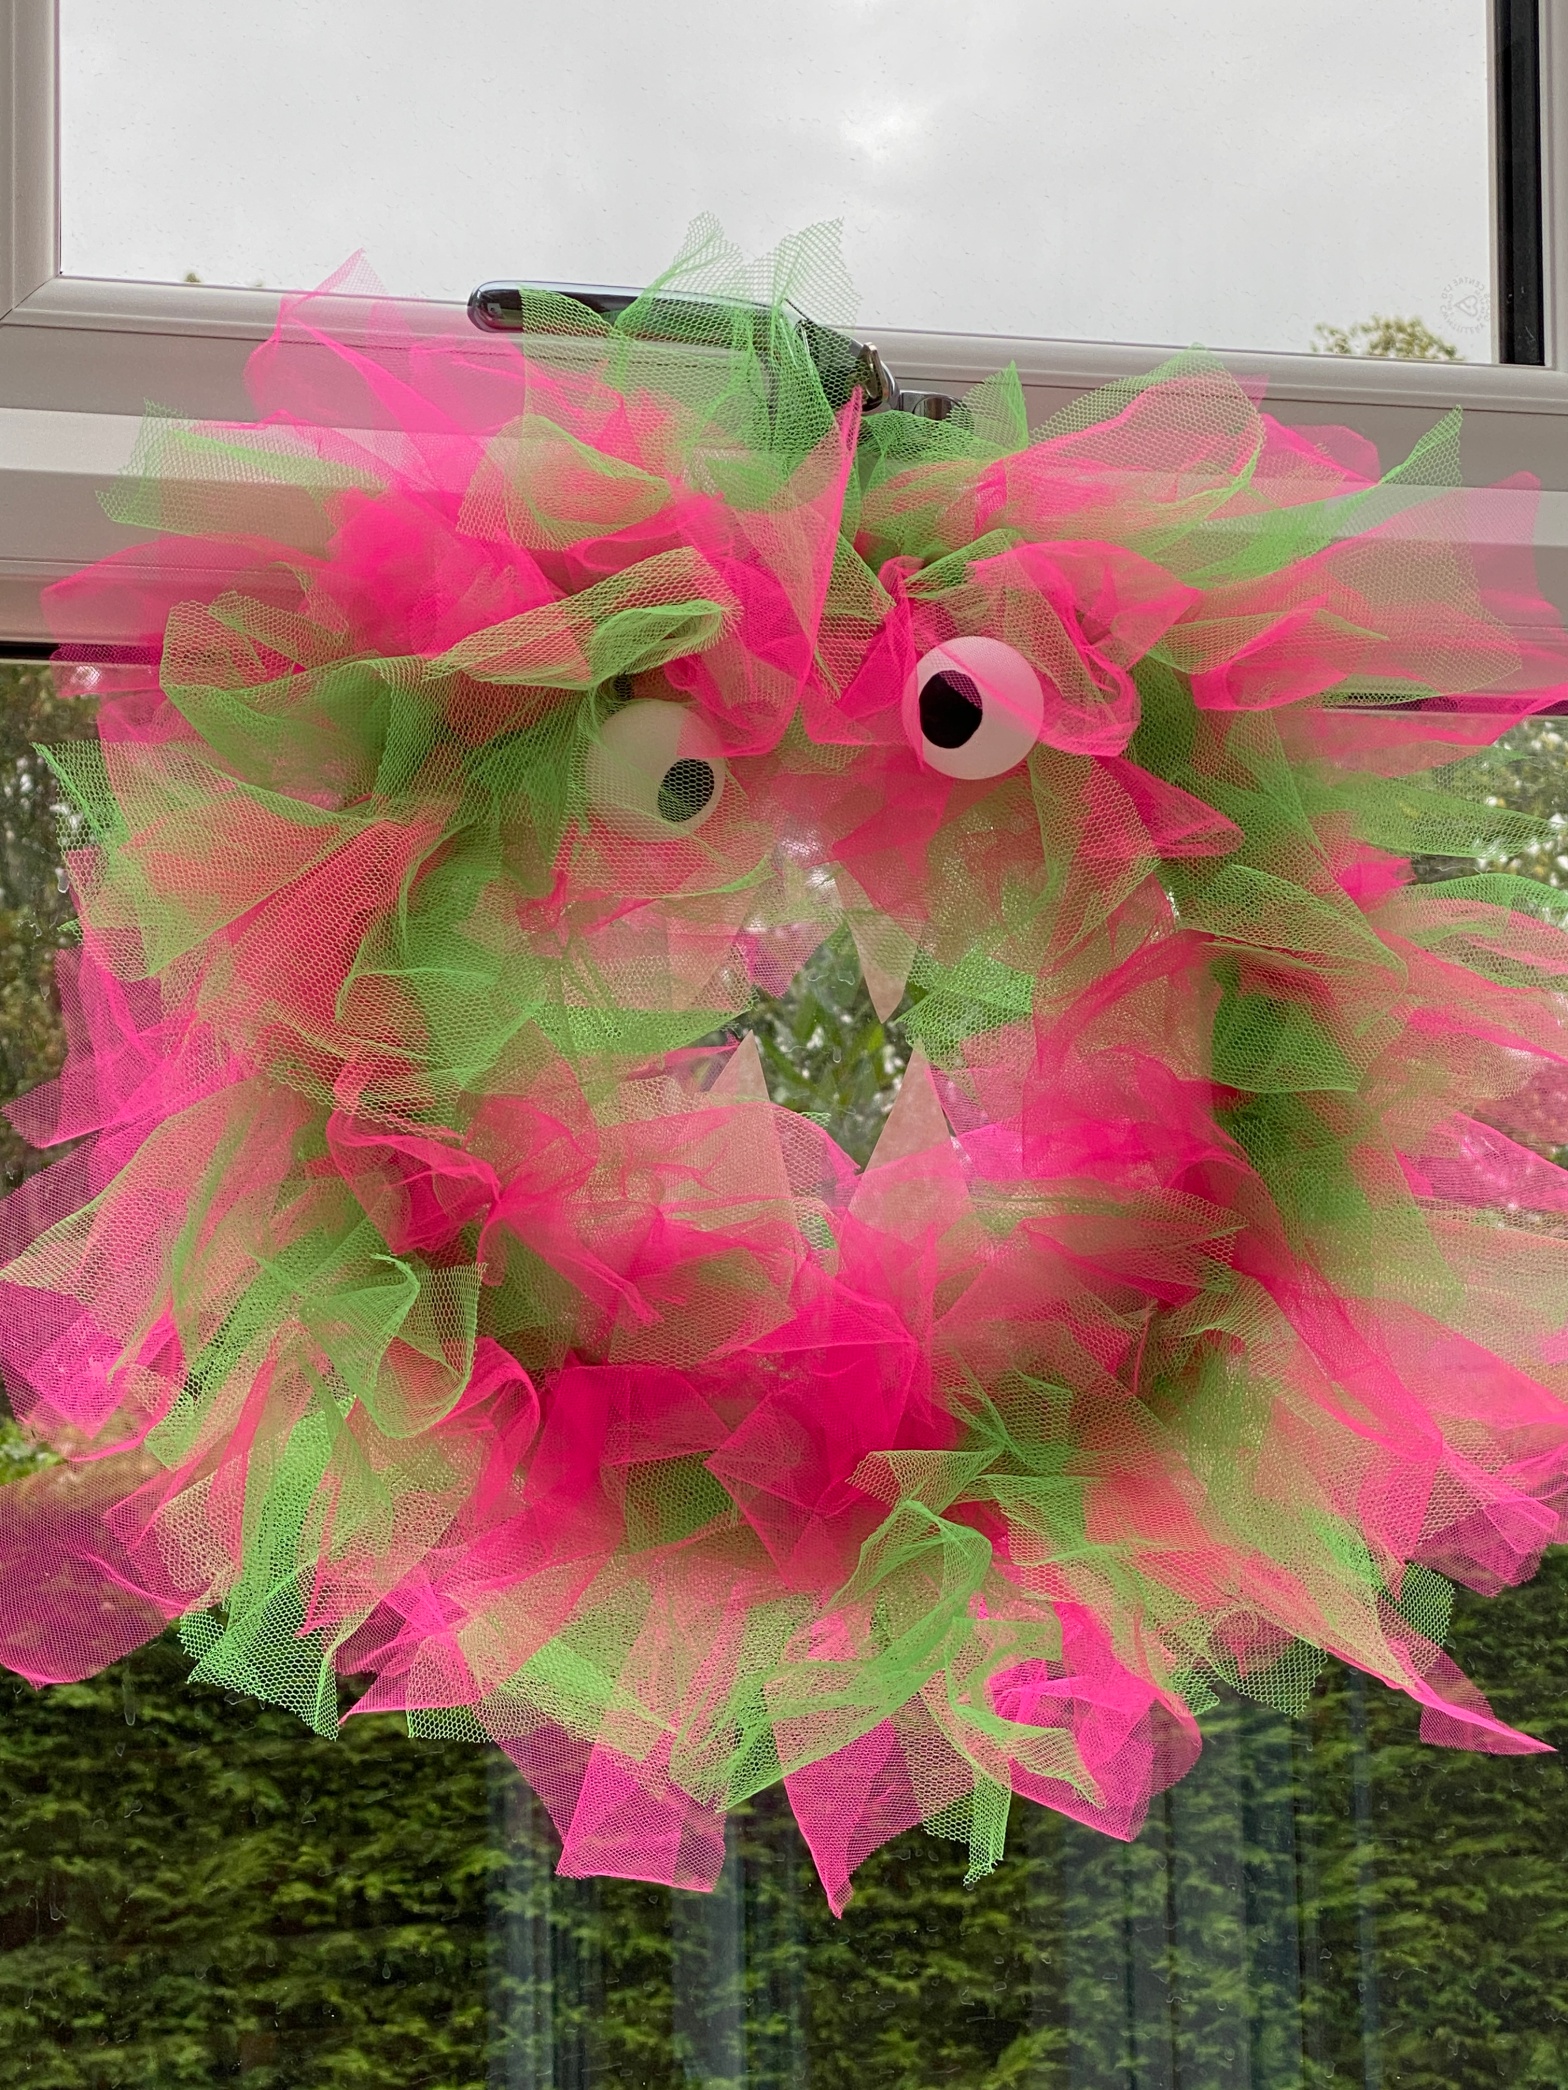
Who would love to make a monster door wreath?! This is a simple and mess free crafty idea. The perfect craft to get stuck into and decorate your door for Halloween.
You will need:
- A wreath base (either metal or polystyrene). The base I used was a 12″ wire base. You could go bigger or smaller, but remember you will need to adjust the amount of fabric you need.
- Fabric (netting or organza will work well for this). I bought 2m of each of green and pink netting from our local fabric shop. It doesn’t need to be expensive stuff. Just cheap netting will be plenty. I have used most of it, but not all. You could probably get away with 3m in total if you wanted to.
- Scissors (sharp enough to cut fabric)
- White Card
- A Black Pen
- Foam balls or table tennis balls. Get the really light cheap balls.
- Florist wire, or similar

Cut your fabric
Cut your fabric into strips approximately 30cm by 5cm. You don’t need to be super exact with this. To make things quicker, I folded the fabric into half lengthways and then half again. Your fabric should then be roughly the right width for the length of your strips. I folded the fabric in half a couple of times the other way, then cut it into strips about 5-7cm wide. It was all don’t by eye. The fabric will be scrunched up, so no one will notice if one is wider than the other, or you have a jagged edge on one piece.
Now lets start tying.
Tie your strips of fabric around your base. Use a double knot, and make sure the knot is at the top of the wreath. This will make sure your ends stick up as much as possible. The ends are what gives the monster its body.

Keep tying until your wreath is full and puffy. How many you use is up to you. Keep going until you are happy with it. To give you an idea, I used about 22 strips per quarter of my wreath base.

Now for the features
Draw the eyes onto the balls using a black pen of paint. Make sure it is dry before you try and attach it to your wreath. Attach a length of florist wire to the back of the balls. Position them where you’d like them, and secure the wire with a few twists.If your monster’s eyes keep flopping down, put a few more tight twists in as close to the wreath base as you can. Arranging the ends of the fabric around the eyes will also help support them.


Cut a zig zag across an A4 piece of white card. These will be your monsters teeth. You don’t need to be amazingly accurate here. Wonky teeth give the monster a better look.

Turn your wreath over and arrange them where you would like them. Trim the corners off. Attach your monster’s teeth to the back of your wreath with a little bit of fabric glue. You could use normal school glue here, but it will take longer to dry and may not stick as well as using fabric glue. Using hot glue is also an option, but please be careful. Hot glue hurts if you get it on your skin!!

To hang, tie a short length of ribbon to the top of your wreath. Or you could use a coupe of lengths of florist wire twisted together if you’d prefer.
Make sure you tuck any wire ends into the wreath. These are not toys, so shouldn’t be played with. Still sharp ends poking out are never a good idea.
Now you just need to hang your monster wreath on your door.

