
This is a super simple craft. No expertise necessary. All you’ll be doing is cutting paper and glueing ribbon or string. Easy. Get the kids involved and get decorating your house for Easter.
You will need:
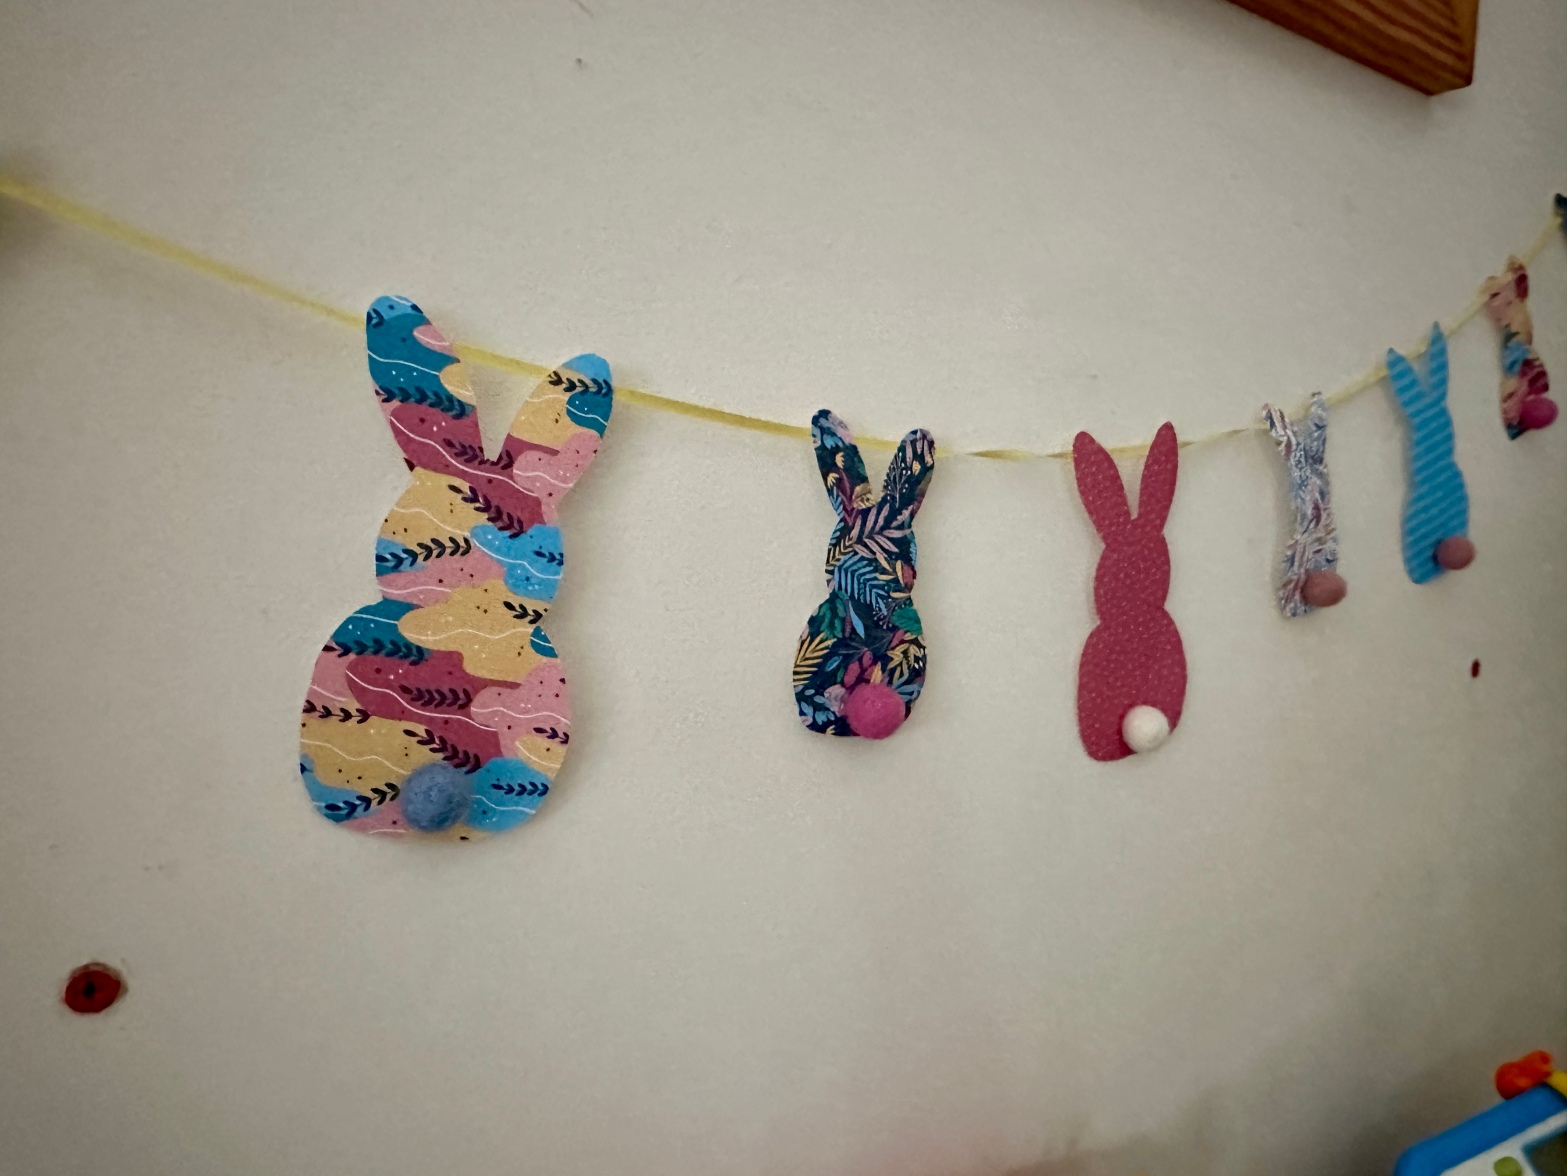
- Bunny Template
- Pretty paper. Scrapbook paper works well here. Make sure it is nothing too light, or the glue will damage the paper.
- Pompoms, or yarn to make your own pompoms
- String or ribbon in a colour of your choice.
Let’s get started…
Start by downloading my bunny template. You will find it here.
Stick your template to some card. Cereal boxes work well here. This is an optional step. Glueing the template to a piece of cardboard will make it more stable and easier to draw around. You can use it as a template without the cardboard. Cut out your bunny templates
Trace around the template onto the back of your pretty paper.

Glue pompoms onto the front of the bunnies to create tails. These could be ready made pompoms, or you could have a go at making your own pompoms using yarn and a fork. Find the instructions to make fork pompoms here. Standard craft glue works well if you gave the time to let it dry. If you are in a bit of a hurry a cool melt glue gun would be quicker. Hot melt glue guns are generally unsuitable for kids to use. A cool melt gun would be a much better option.

Attach the bunnies ears to a piece of ribbon or string. I found glue worked well here, but you could also use tape if you find that easier.

Mix it up…
Have a go at these variations:
Use the template to cut felt shapes rather than paper shapes. Sew two shapes together to create a little bunny teddy. Draw, sew or stick on features. Don’t forget the tail.
Try using the template to cut foam shapes. You can find lots of pretty patterned or even glittery foam sheets in craft shops.
How long can you make your garland? I’d love to see pictures. Show me in the comments below.
