We had a go at salt painting this week. Have you ever tried salt painting?
Salt painting is a great way to add a little texture and shine to a picture. It’s quick, cheap and easy. The perfect crafty activity for little pre-school fingers (and not so little fingers). I had a go with my 4 year old. When my 10 year old came in, she wanted to get stuck into the creativity as well. We probably spent an hour or so with this activity on a raining afternoon.
Read on, and create your own salt panting artwork.
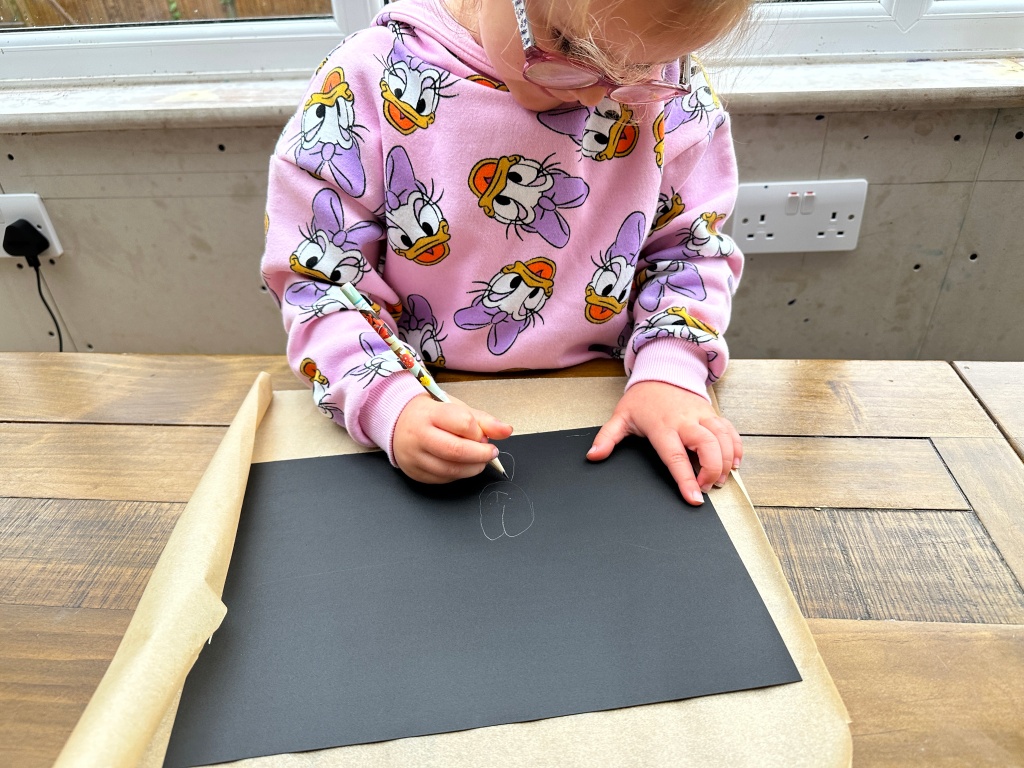
Exploring creativity with children is so very important. It boosts confidence and self esteem, as well as their problem solving abilities and fine motor skills. Let them explore variations and other possibilities. Even if that means it might ruin their artwork. They can create another picture and learn from their experience. The value is in the making.
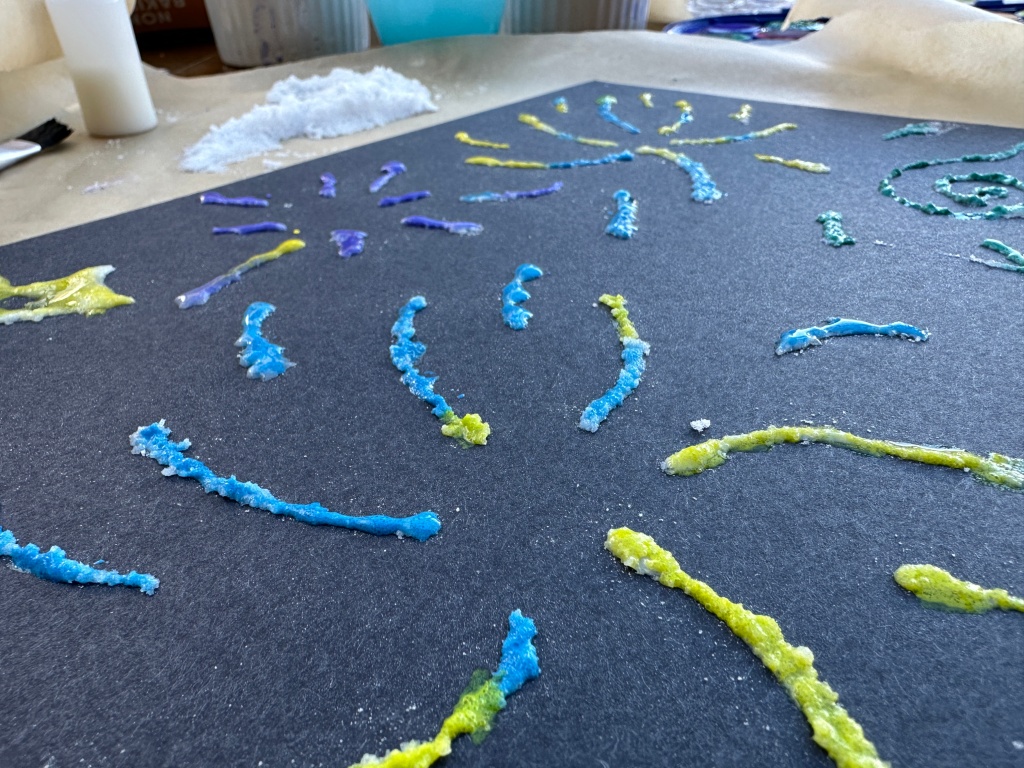
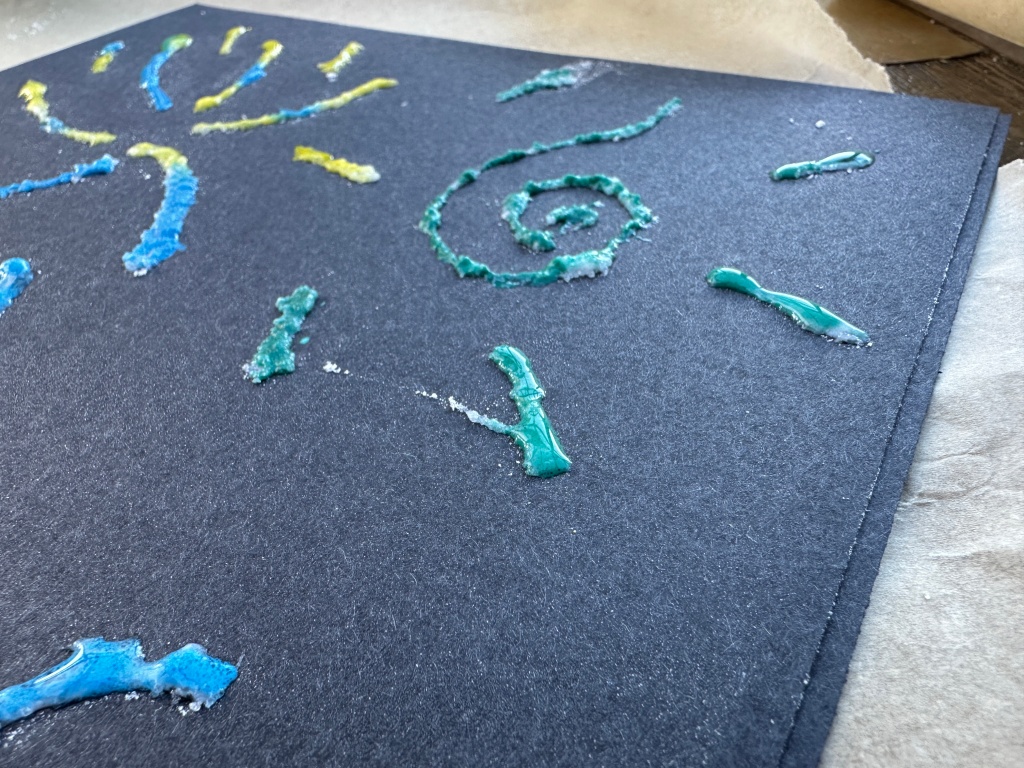
With bonfire night fast approaching, we decided to go for a fireworks theme, but you can do anything you like.
Materials and Equipment
Salt painting is super easy and very cheap. You probably have the materials you need at home already. Or can get hold of them easily. It’s a quick craft to set up and clean up afterwards, and will keep the kids entertained and engaged with the possibilities. There is no need to wait for glue to dry to see the results.
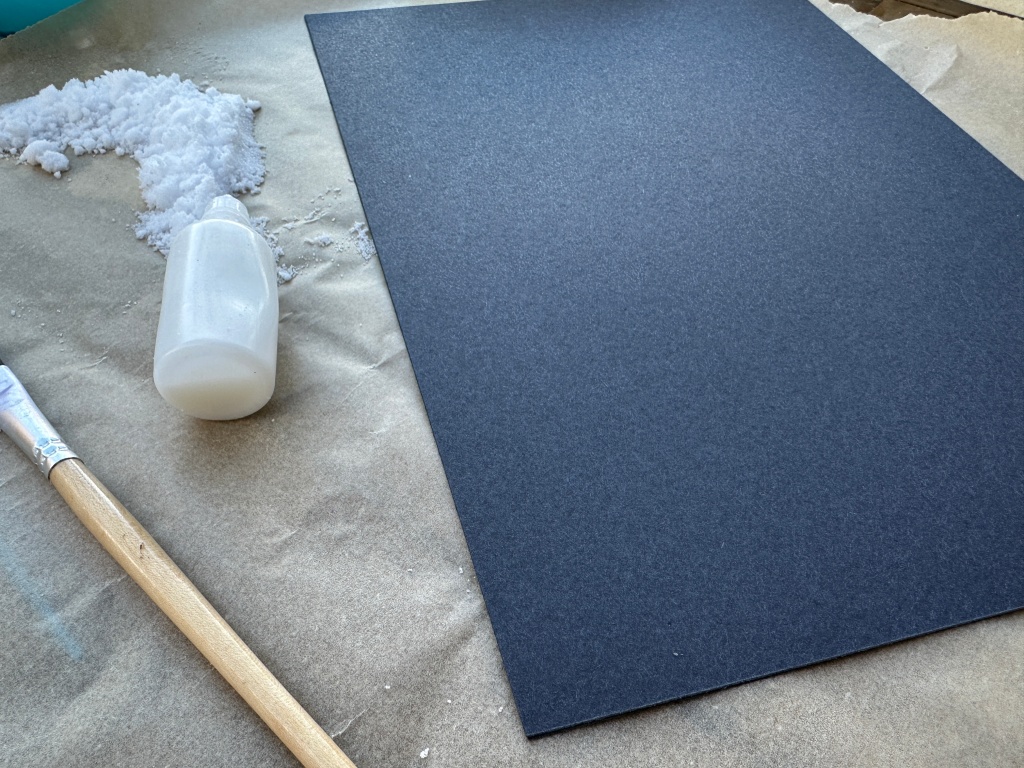
You will need:
- A sheet of sturdy paper or card. We used black for our fireworks picture, but choose a colour that works for you.
- Water colour paints.
- A brush or squeezy dropper
- Standard PVA glue.
- Fine salt.
- A sheet of greaseproof paper or similar to catch the salt.
- a pencil (optional)
Let’s get making…
Now that you have all the equipment and materials to hand, let’s get making.
Firstly, lay down a sheet of greaseproof paper or a flexible mat. You will be thankful of this later to collect the excess salt. Don’t forget your apron.
Once your surface (and clothes) are protected, lay down your sturdy card and draw a picture with the glue. You can create a drawing with pencil here first if you like. Or just go for it free hand as we did with our fireworks pictures.
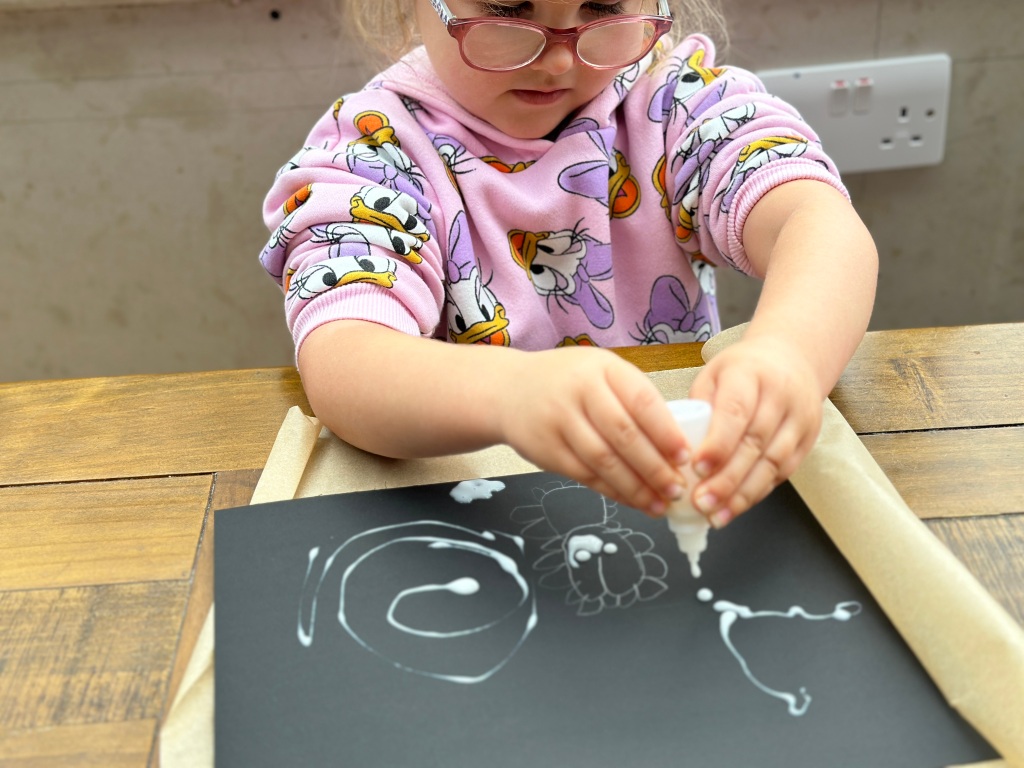
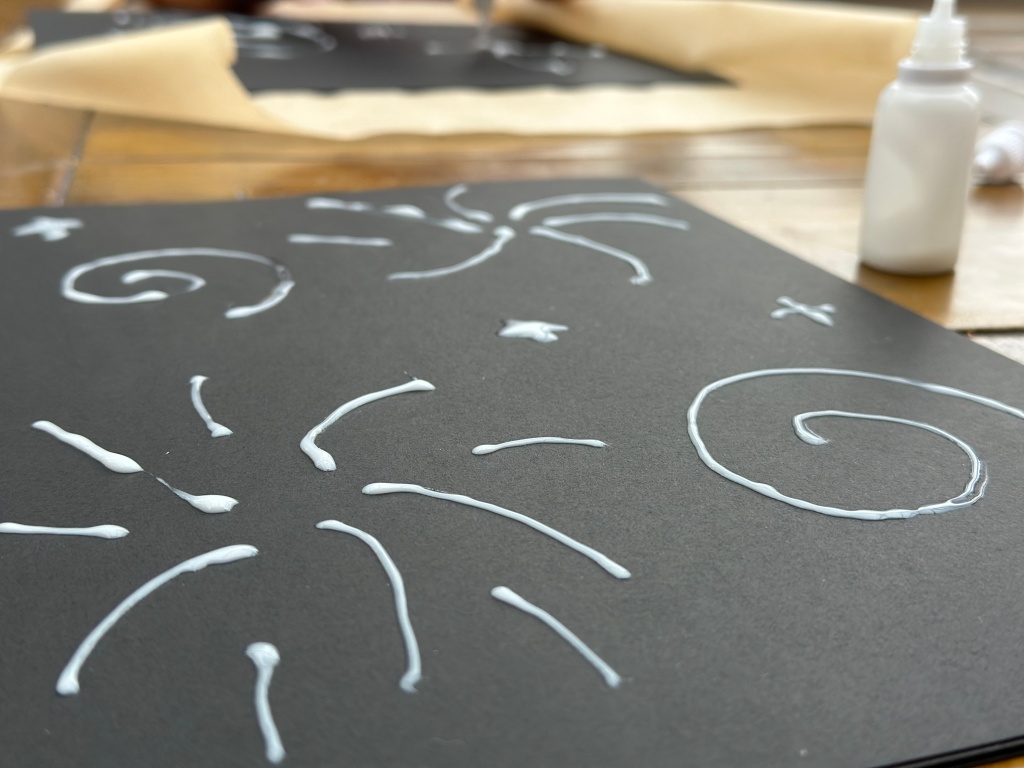
Be careful not to create large areas of glue here. Smaller limes will work much better than larger filled in areas. Using a glue bottle with a fine top worked better for us. We had more accuracy as to where the glue ended up and the speed it came out. If you don’t have a bottle with a fine top, you could try a fine brush or cocktail stick to create your design. Remember to wash brushes out quickly or the glue will dry and make them useless.
When you have finished drawing, cover the glue liberally with salt. Shake off the excess onto a sheet of greaseproof paper or flexible mat.
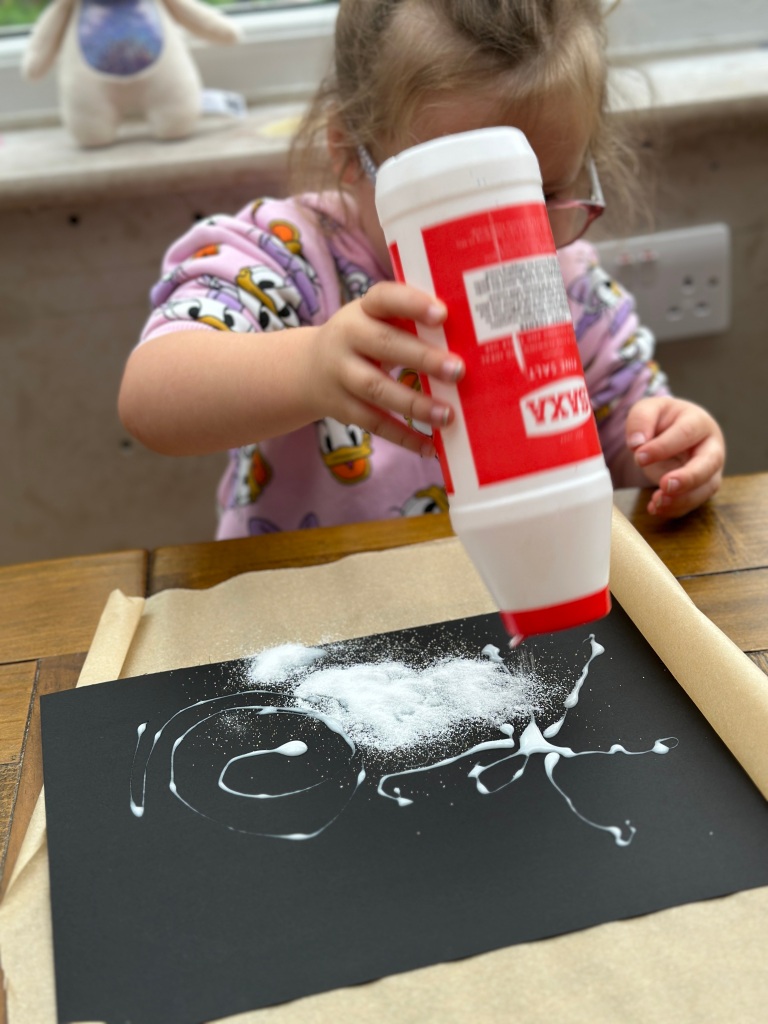
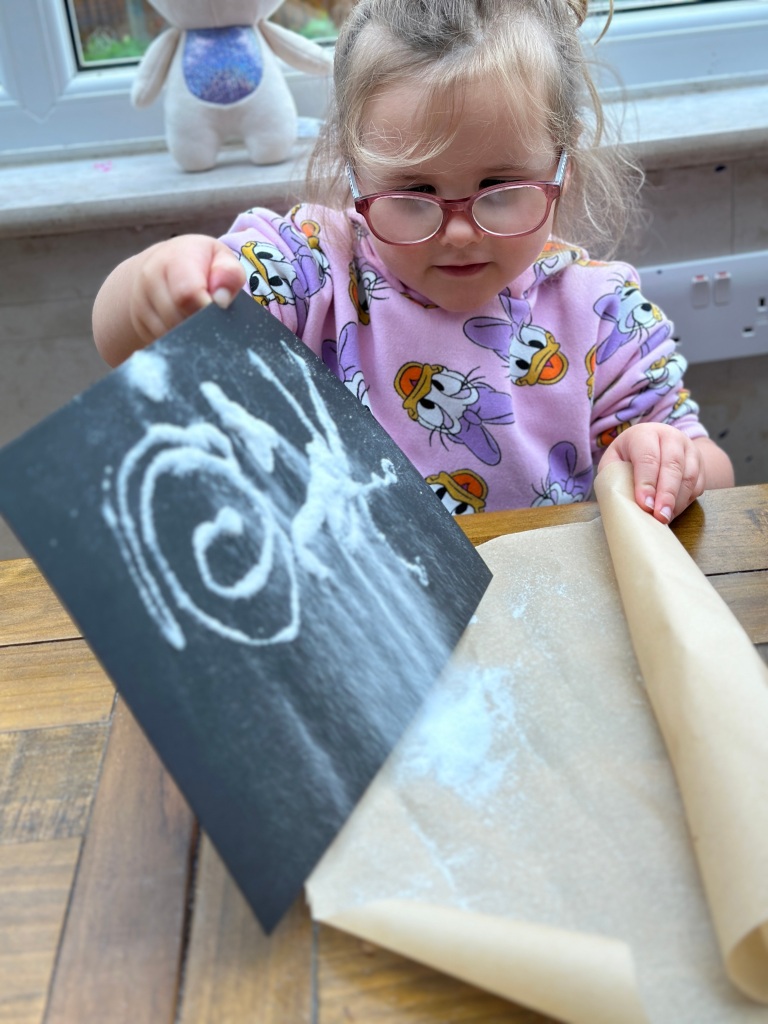
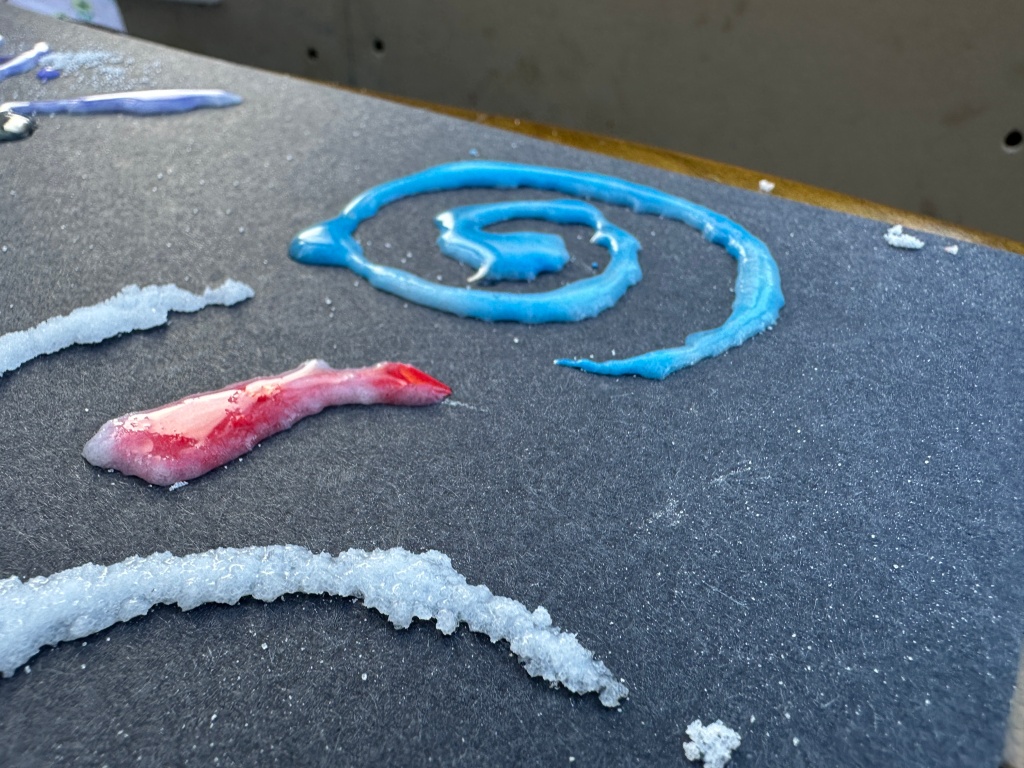
Using your brush or dropper, drip your paint onto the salt. You don’t need to wait for the glue to dry here. Just grab your brush and get painting.
Don’t brush the paint on, or you’ll brush the salt away as well. If your paint is too watery, it will destroy your picture.
Dabbing the salt very lightly with the brush worked well for us, as we only had a kids watercolour set to hand.
Keep painting until all the salt is coloured. Watch the colours bleed into each other and create wonderful patterns. When you’re done, leave it to one side to dry completely.
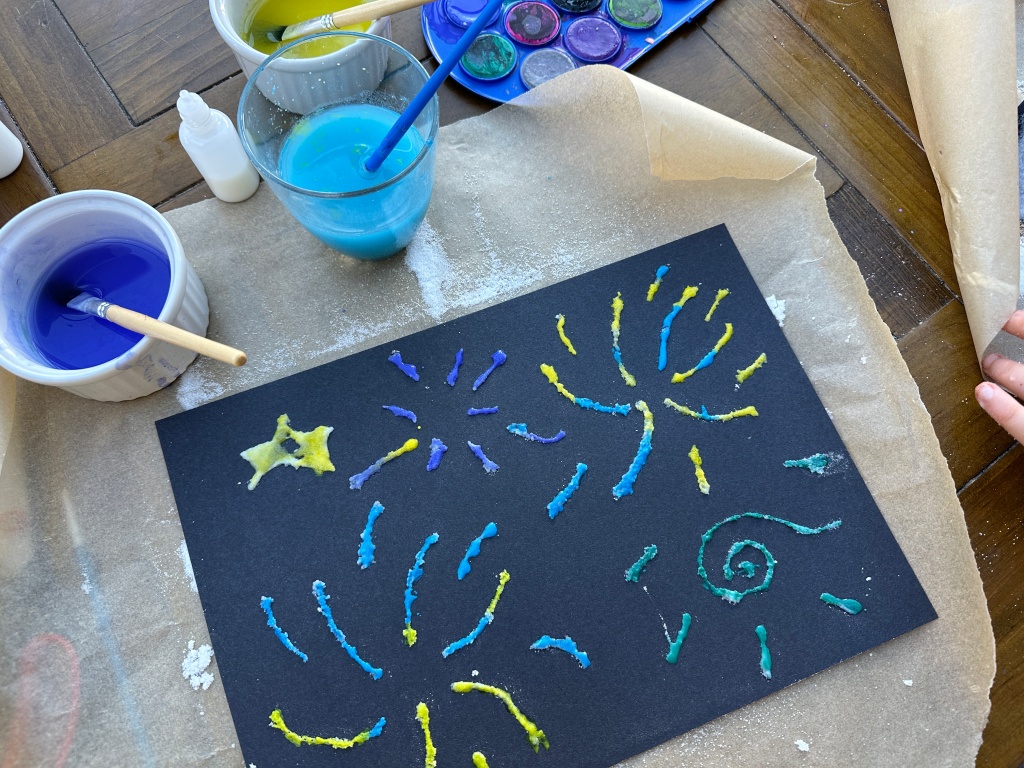
Finishing and Cleaning Up
Cleaning up is where you will be thankful for that protective mat or greaseproof paper. Fold the greaseproof paper or mat up carefully to contain the salt for easy disposal.
Water based paints will wash easily and are less likely to stain clothing. For a relatively messy activity, the mess can easily be contained and cleaned up.
I like to get my gang involved in the cleaning up. I don’t mind a bit of messy creativity, but they need to help clean up afterwards. They can carry dirty water cups to the sink and wipe the table down after an activity.
Helpful Hints and Variations
If you would like your picture to last a little longer, apply a light layer of hairspray to keep the salt from flaking of.
We found that the colours will fade after a few days. The salt will likely flake off after a week or so (with or without the hairspray). These are certainly not forever pictures. But the fun is in the making and exploring the bleeding colours. When my gang had a go at this they all made 3 or 4 pictures each. And we didn’t stop at fireworks We had rabbits, pandas, and dinosaurs. They all had a great time exploring their creativity.
Exploring creativity with children is so very important. It boosts confidence and self esteem, as well as their problem solving abilities and fine motor skills. Let them figure out for themselves what happens if you add too much water, or if the brush hits to sal too hard. Have plenty of card on hand and they can create a new picture that is improved on the previous one.
Let’s see your pictures
Go on. Have a go. What pictures will you create? What happens if you use a coarse salt? Or sugar?
Share you pictures in the comments below! I’d love to see them.

