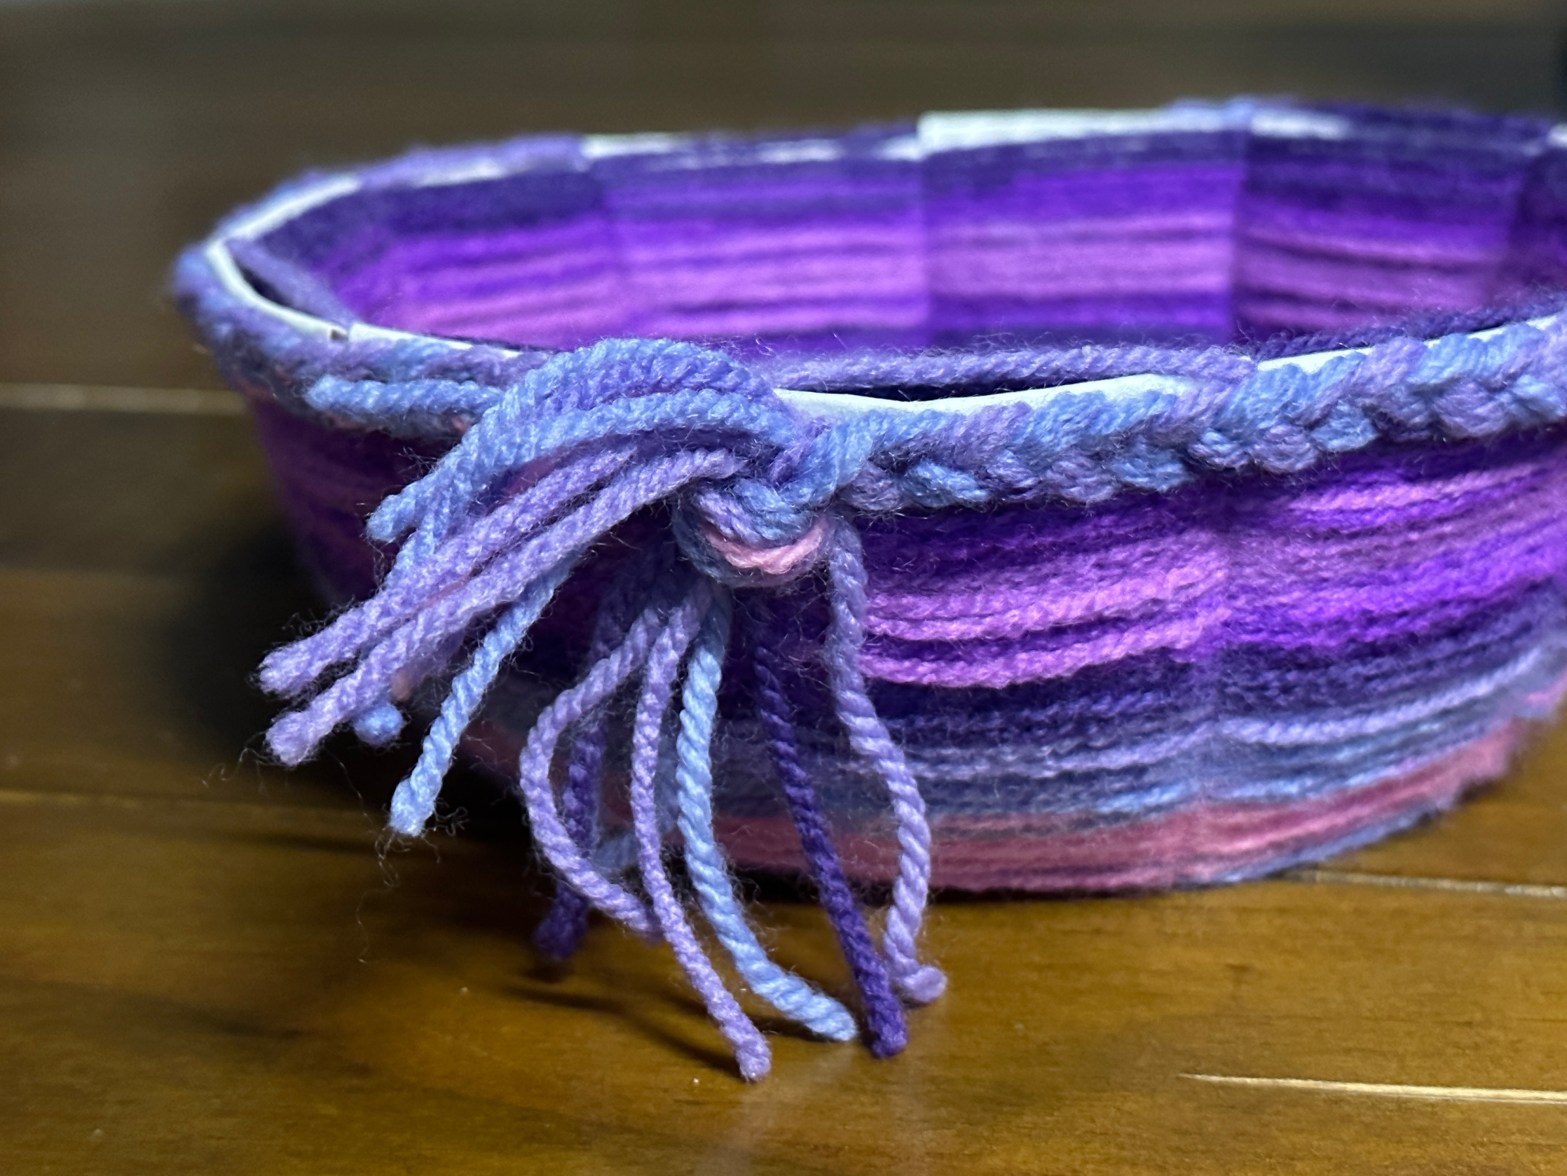
These woven bowls are a great addition to a desk or dressing table to keep hair bands and clips, paper clips and other stationery in. They are very easy to make, and a little bit addictive. Experiment with different size bases and heights to make your woven bowl truly unique.

You will need:
- a paper plate
- coloured yarn of your choice
- standard school glue
- a pencil or pen
- general use scissors
Setting up your bowl
Draw a circle in the centre of your paper plate. This will be the base of your bowl, so you will need to decide how big you would like your bowl.

Mark an uneven number of marks around the outside of your plate. The plates we used worked out to about 9 or 10 ‘notches’ per section. Then draw a straight line to connect each mark to the circle in the middle.

Cut a ‘V’ around these lines. either draw it first or cut it straight away. Stop at the centre circle.

Bend each section up to form a bowl. If any of your sections overlap, trim the V a bit wider so that there is no overlap when the bowl is formed.
Let’s get weaving
It’s easier to leave a tail to hold onto whilst you get started. This can be tucked in later on. Make sure you keep the edges of the bowl bent upwards. If you flatten it whilst you are weaving you wont end up with a lovely bowl shape. Gently pulling your weaving tight as needed will ensure you keep the nice bowl shape to your plate.


Stop and check your weaving every so often. Push down any weaving where you can see paper plate. The plate should be completely hidden when you’re done. Make sure you haven’t got any loops or skipped any sections. These will get in the way when you come to use your bowl. So it’s a good idea to take the weaving back to where you made the mistake and fix it.

If you want to change colour, cut the old yarn, leaving a tail. Tie the new yarn onto the old tail and keep weaving. Tuck in the ends as you go.
Stop when you are about 5mm from the top edge of the paper plate. Cut your yarn, leaving a tail which we will tuck in shortly. Fold the edge of the bowl over to the outside, creasing it firmly so that your weaving wont slip off the edge of the plate.

Finishing Touches
To cover up the folded edge, make a plait using your yarn.
Measure the circumference of the top of your bowl. This doesn’t have to be accurate. I roughly laid the yarn out twice around the top of my bowl as shown in the photo below. Cut 9 lengths of yarn, twice as long as the circumference. Tie them together close to one end and divide into 3. Plait until you have enough to cover the top of your bowl. You might find it easier to tape your yarn to your table, use a clipboard, or safety pin to attach it to a cushion.


Add a little glue underneath the crease you made earlier, and on top of the crease. Attach your plait all the way around your bowl. Use pegs of clips to hold it in place whilst it dries. I used two pegs per section. How many you use will depend on the width of your sections.


The ends of the plait were simply tied together and left as a feature to the bowl. Tucking that many ends into your weaving will create too much bulk. You could tie a bow in them if you’d prefer. See what looks best on your bowl.

Use a pencil to tuck in any loose ends. The you’re done!

